Quarkus developer joy for VS Code
Earlier this year, we have been introduced to Quarkus, the next-generation, container-first framework for Java applications. As expected, such new frameworks and technologies make way for new developer tools focused on making the development experience even better. The recent Quarkus Tools for Visual Studio Code release aims to do just that, by bringing features specific to Quarkus project development within VS Code.
The VS Code extension was originally started as a project by Tihomir Surdilovic, from the Business Automation Team at Red Hat and became the foundation of today’s version.
This blog post outlines what Quarkus Tools for Visual Studio Code has to offer so far: convenient features for an already convenient Java framework.
|
Quarkus Tools for Visual Studio Code is dependent on a couple of Java extensions for VS Code, so it is recommended that you have the Java Extension Pack installed. |
|
For more detailed information about Quarkus Tools for Visual Studio Code, check out the GitHub repository. |
Watch a demo of Quarkus Tools for Visual Studio Code:
Características
Generating a Maven-based Quarkus project
Previously, generating a Maven-based Quarkus project required you to run a Maven command or create a project with code.quarkus.io. Now you can create a new project right from a user interface in VS Code. This can be done through a new wizard that generates Maven-based Quarkus projects with the latest version of Quarkus.
To launch the wizard call the Quarkus: Generate a Maven project command
from the command palette.

The wizard will ask you for the project’s groupId, artifactId, project version, package name, resource name, and target directory. It also lets you select Quarkus extensions to add to your new project. If you selected Quarkus extensions through the wizard before, the "Last Used" option lets you easily select all previously chosen extensions.
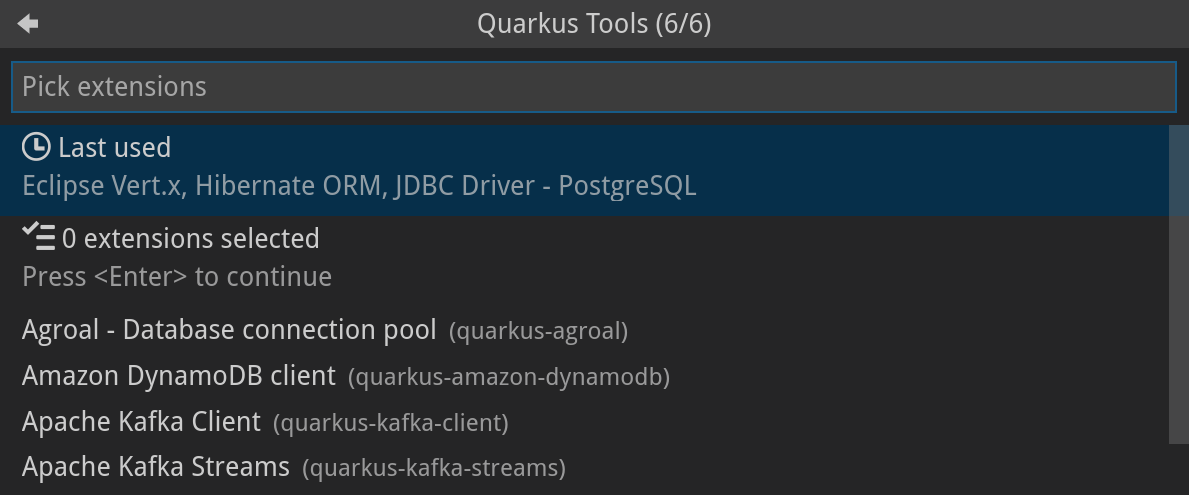
After the project is generated, VS Code will automatically open a new window with the folder containing the new Quarkus project. Alongside the project files, Maven wrapper files are also included.
Snippet support
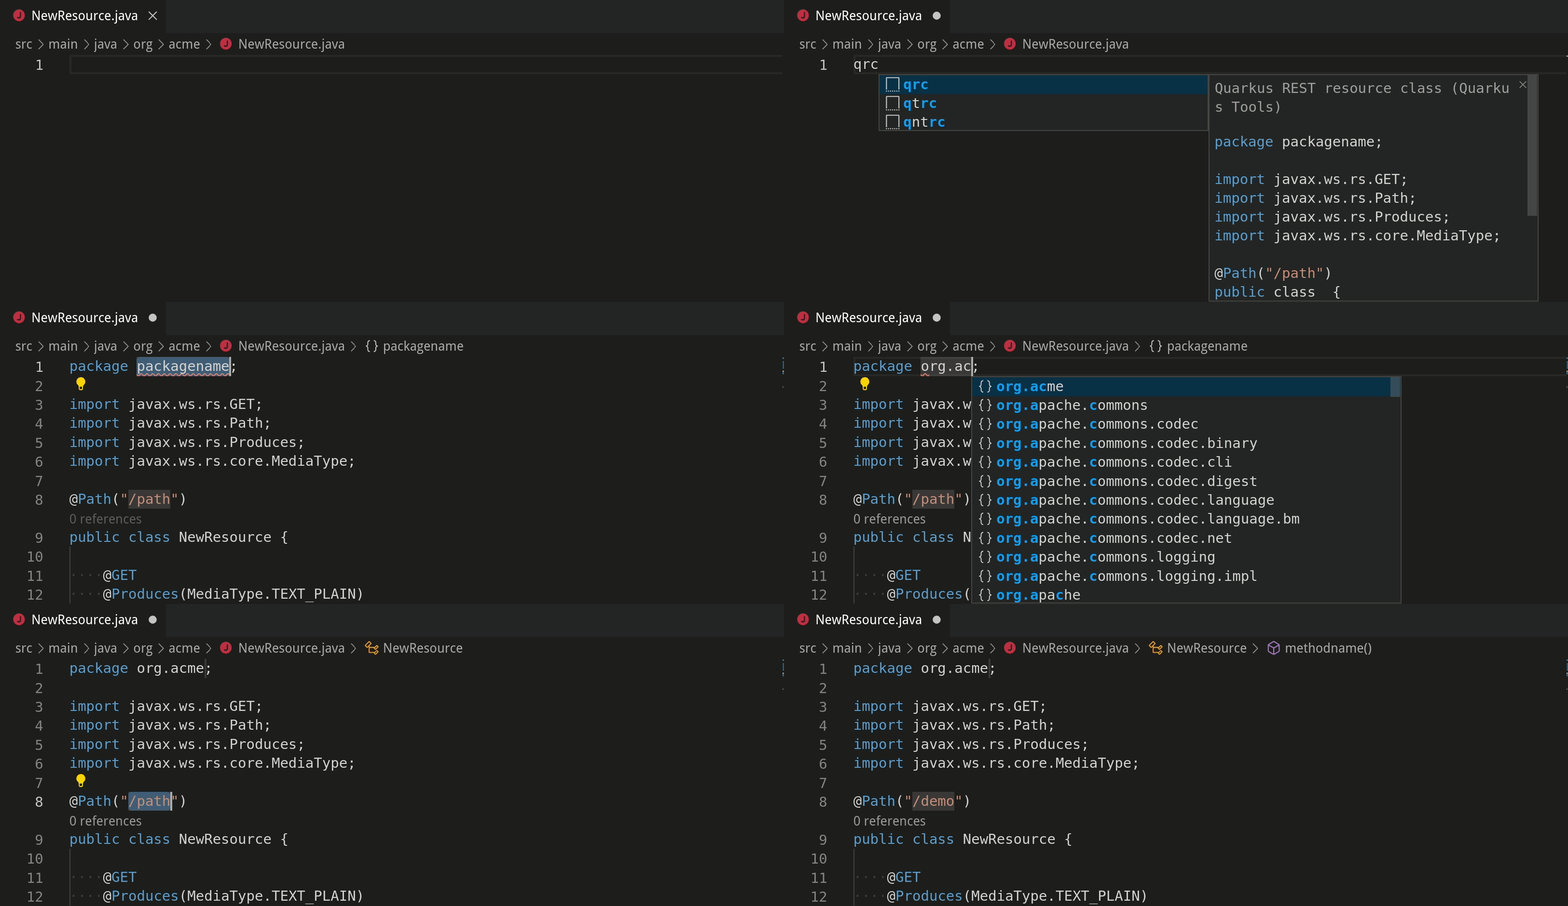
The VS Code extension provides snippets to create new Quarkus resources and tests,
which can help speed up your workflow.
You can use these snippets by calling the Insert Snippet VS Code command
or by simply typing the snippet prefix in a Java file.
Pressing tab will place the cursor to the next location of interest.
Adding Quarkus extensions to a Quarkus project
The VS Code extension provides a separate wizard for adding Quarkus extensions to the current project.
To launch the wizard call the Quarkus: Add extensions to current project command
from the command palette.

After selecting the desired Quarkus extension(s), the Maven command to add the selected extensions will run in VS Code’s integrated terminal.
Debugging a Quarkus project
Starting a debug session with the VS Code extension’s debug command
automatically creates and adds a new VS Code task and debug configuration
in the project folder.
This step allows VS Code to automatically start the Quarkus application by running the
quarkus:dev command when you start a debug session.
The debugger will attach to the application right after it starts.
When closing the debug session, you are provided with options to terminate
the Quarkus application or keep it running.
The debug command is: Quarkus: Debug current Quarkus project.

Tree view for application.properties
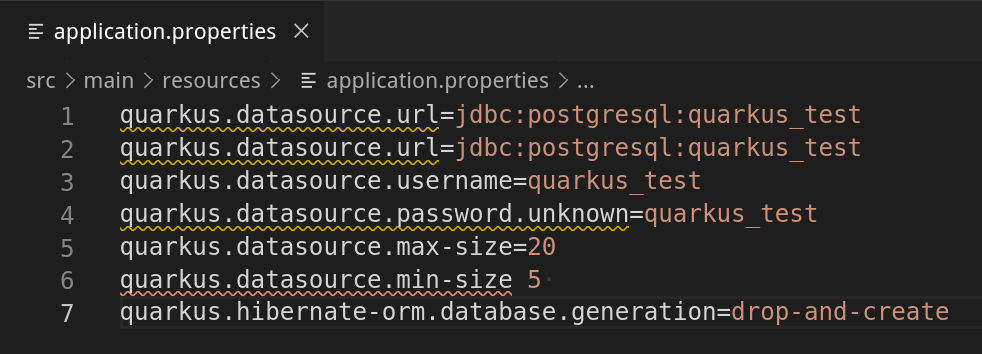
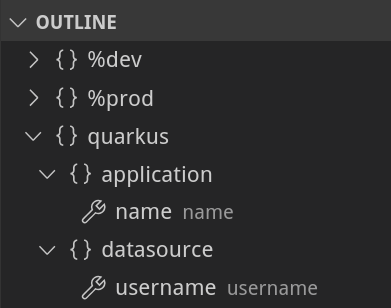
Upon opening the application.properties file, the VS Code explorer outline will provide you with a tree view containing all property keys and values. This feature is especially useful for large application.properties files because it groups properties by their namespace and profile.
Hover and documentation for application.properties
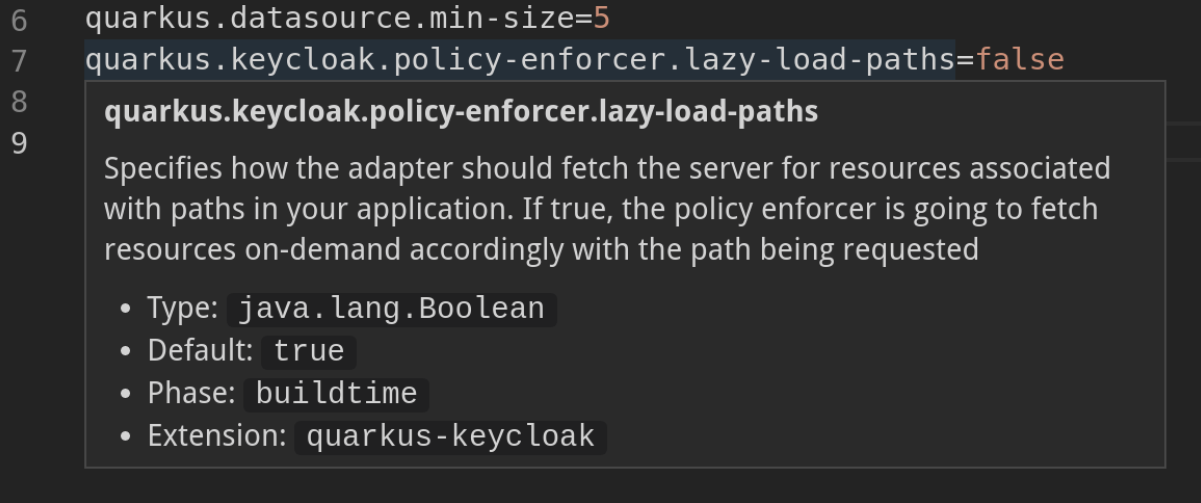
The ability to hover over property keys makes it easy to view the property’s documentation. The documentation provides the property key’s value type, default value (if it exists), phase (whether the property applies at Quarkus runtime or build time), and the extension name.
Completion for application.properties
As of now, there are more than 400 possible predefined Quarkus properties that could appear in an application.properties file. I challenge you to remember them all :). Because of the vast number of properties that could be configured, property key and value completion prove useful to anyone working with the application.properties file.
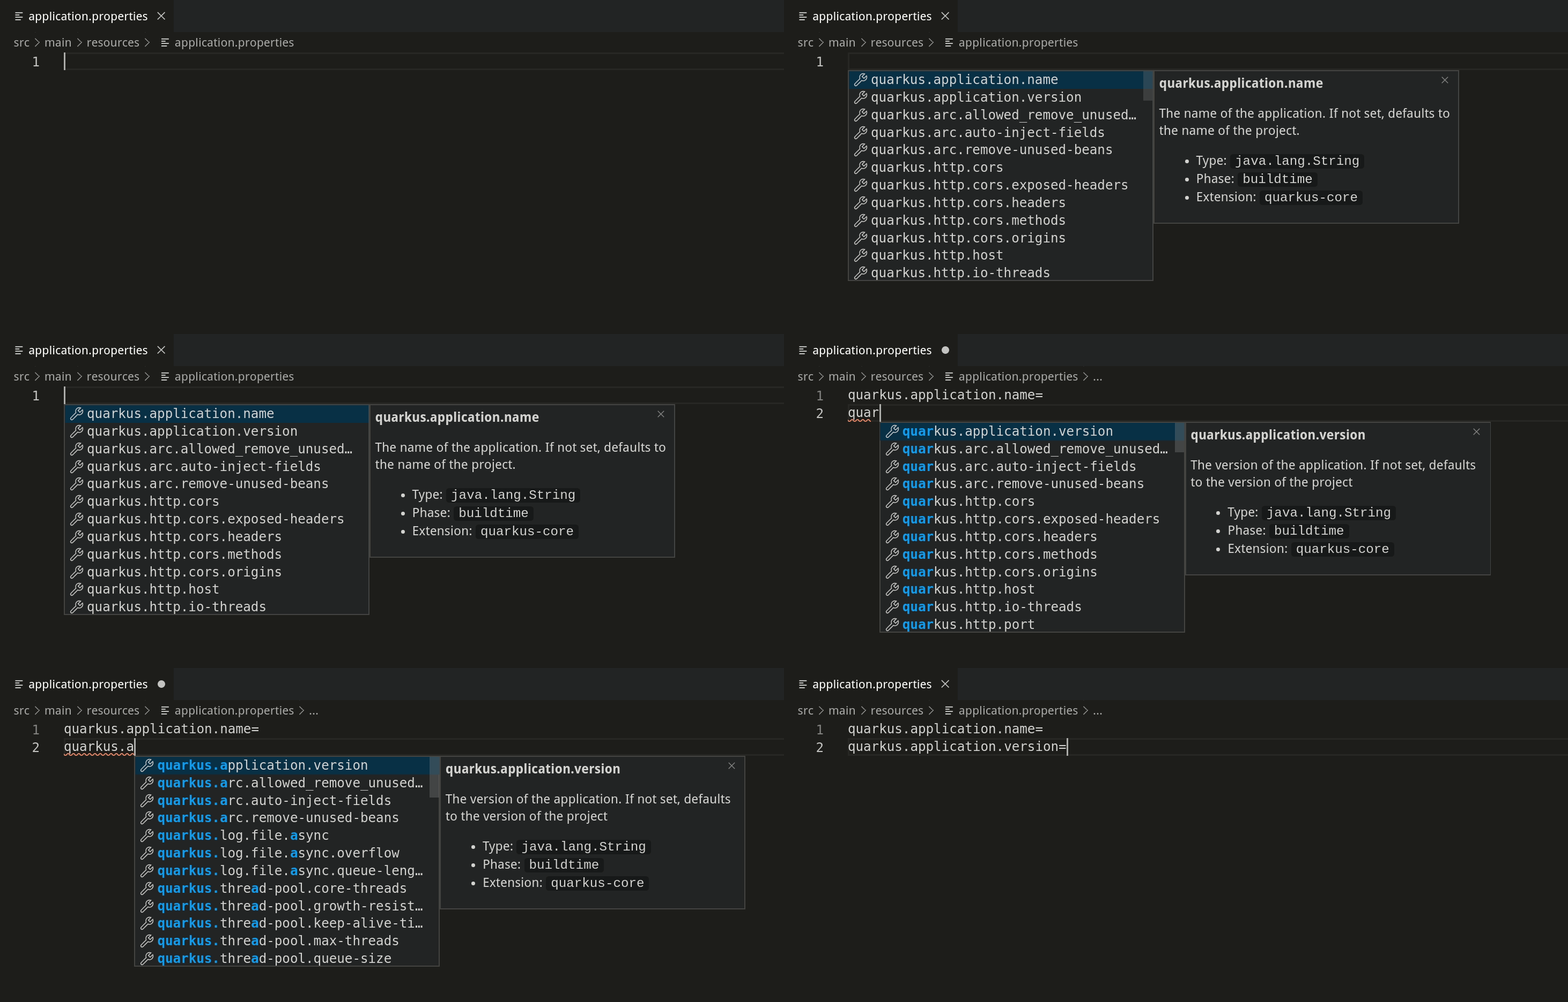
After opening the application.properties file, you can receive property key completion options as you type, or with the Ctrl+Space (⌥+Space for macOS) keyboard shortcut. The list of completion options is in sync with the Quarkus extensions that are currently available to the project. That means, whenever Quarkus extensions are added or removed, the list of completion options will be updated to provide you with the relevant completion options.
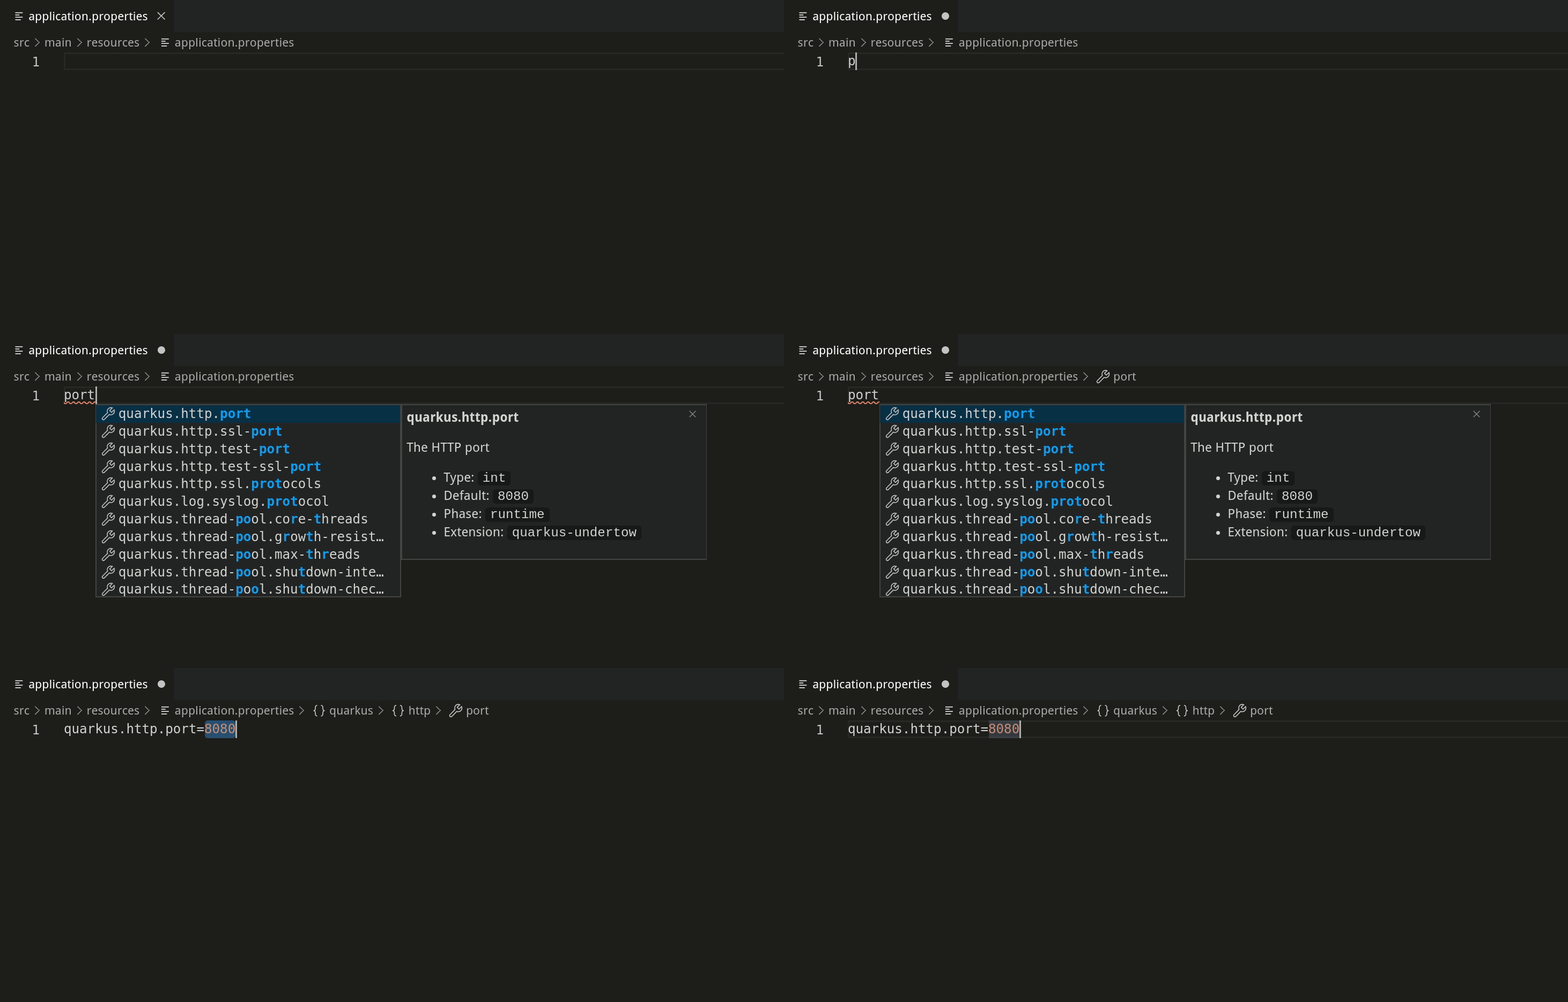
If the property key has a default value, it will be inserted automatically as a part of the completion.
Completion is also available for enumerated type and boolean values.

There is also completion support for mapped properties. Pressing tab after editing the property will place the cursor to the next location.

Próximas etapas
As you can see, Quarkus Tools for Visual Studio Code has great features to help provide a seamless developer experience and promote Quarkus project development within VS Code. However, this does not mean that the extension is perfect and bug-free; it is still being improved. We aspire to add new features (such as a CodeLens feature that would open REST endpoint URLs in a web browser) and improve existing features (such as completion, validation, snippets).
If you prefer IDEs such as Eclipse and IntelliJ IDEA, the good news is that Quarkus tooling for those IDEs are currently in progress. Because the application.properties features are provided via the Language Server Protocol (LSP), it is possible to provide the same features to other editors and IDEs.
If you have any issues or feature requests, please let us know by creating a GitHub issue here. We would be very happy to listen to any suggestions for improvement. If you would like to contribute to the project, the contributing guide is located in the GitHub repository here.
Thank you for reading!
